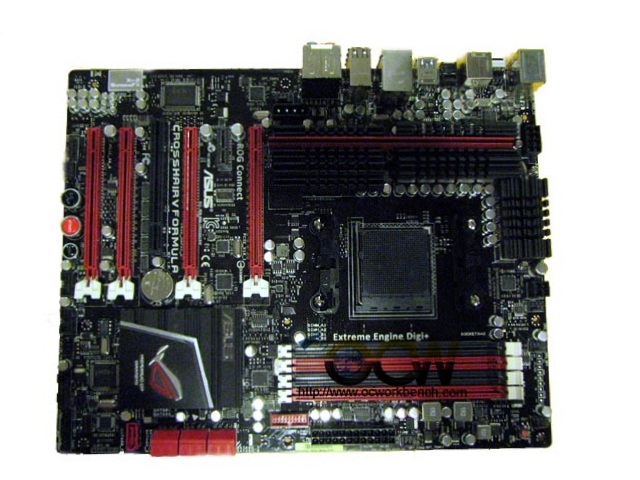
Replacing a dead CMOS battery is a quick and simple process that usually takes just a few minutes. Here are the basic steps:
Power Off and Unplug Computer
First power off and unplug your computer from the power source to avoid potential electrical shorts. It’s also safe practice to press and hold the power button for 5-10 seconds to discharge any residual power after unplugging.
Locate and Remove Old Battery
Refer to your computer or motherboard manual to locate the CMOS battery housing on the motherboard. Often labeled “RTC” or “CMOS”, it will hold a small watch-style lithium battery. Note the orientation of the + and – sides if marked. Use a small flathead screwdriver to gently pry and remove the old battery from its holder.
Insert New Battery
Have your new CR2032 or other CMOS replacement battery ready. Match the orientation of the positive and negative sides to the original battery if indicators are present around the holder. The positive (+) side usually faces up from the motherboard surface. Press the new battery down firmly and ensure it is seated properly in the holder.
Reassemble and Power On
Close up the computer case and reconnect any internal cables you may have detached. Plug in the power cable and turn on the PC.
Verify Operation
Once powered on, enter BIOS setup and confirm the system date/time is correct and your custom settings have loaded properly. This new battery should resolve any prior issues and your computer will retain configurations going forward.

![Scientists have developed a battery that could allow a mobile phone to be charged and ready for use in one minute aluminium-battery-1-762×428[1]](https://en.ocworkbench.com/wp-content/uploads/2015/04/aluminium-battery-1-762x4281.jpg)


