
Installation
In the unboxing video, we mentioned about the leaflet. It shows you the IP address you can key in to your browser to access to the login page for the first time.
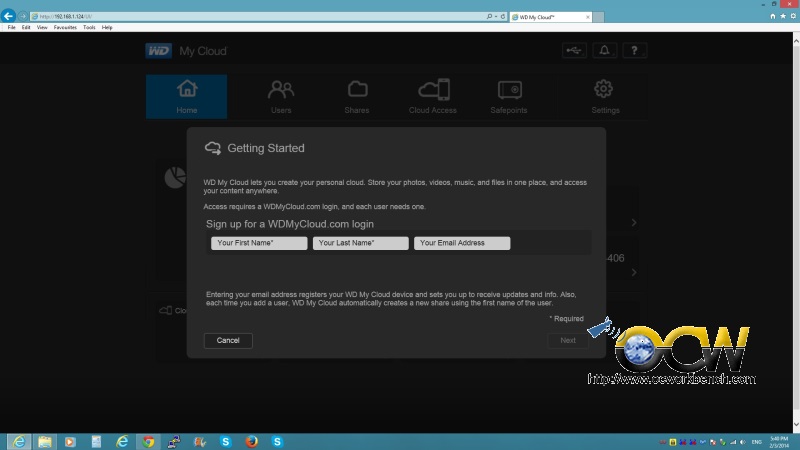
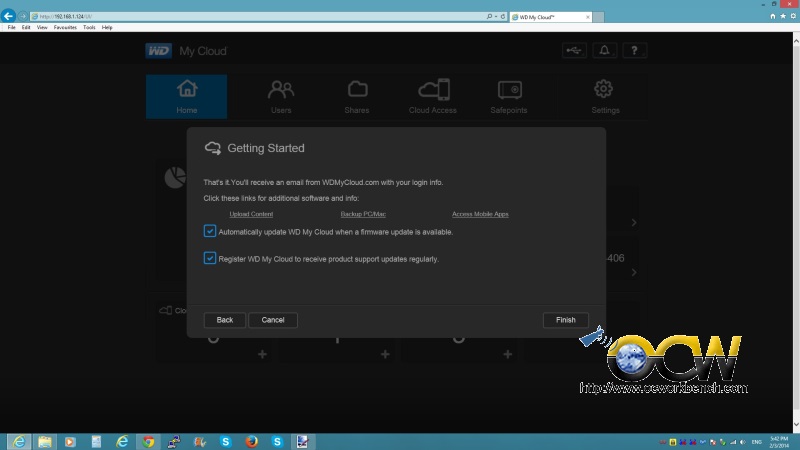
Upon reaching this screen, you will have to create a new WDMyCloud.com login ID. You will need to create an account to continue.
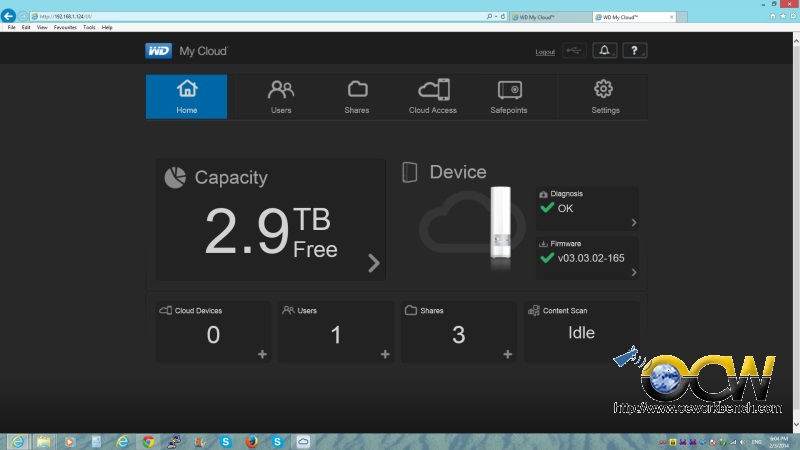
Once the account is registered, you will be greeted to the main User interface of the MyCloud. During the installation we also updated the firmware to the version indicated below. As you can see this is a 3TB version of the device. Over here you can setup the users that can access the device, the shares and permissions, the cloud access and safepoints.
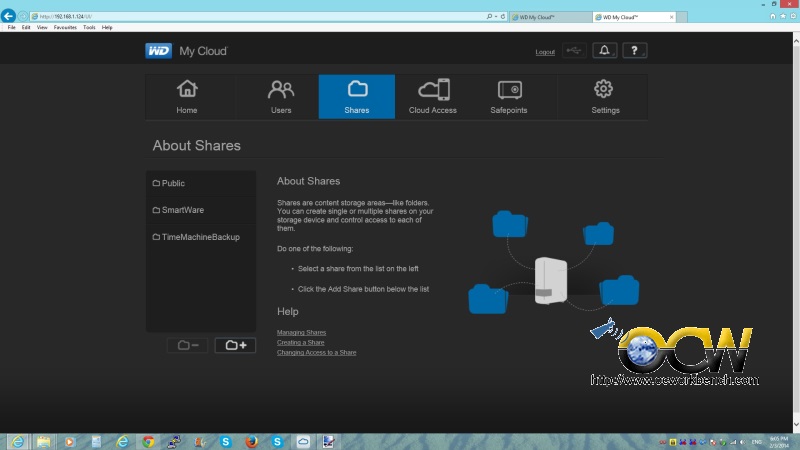
Over here you can select the folder and set permissions to the shares.
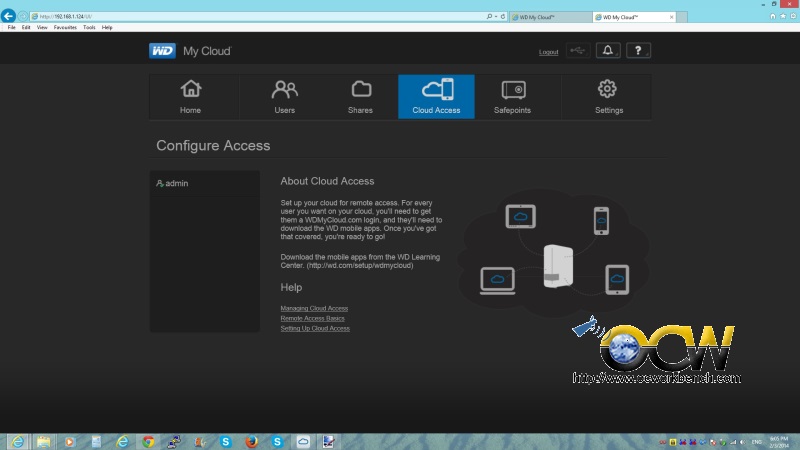
Over here, we set up cloud access for the user ‘admin’. You will also need to get them a WDMyCloud.com login and password. They will have to download the WD mobile app to gain access from outside your network.
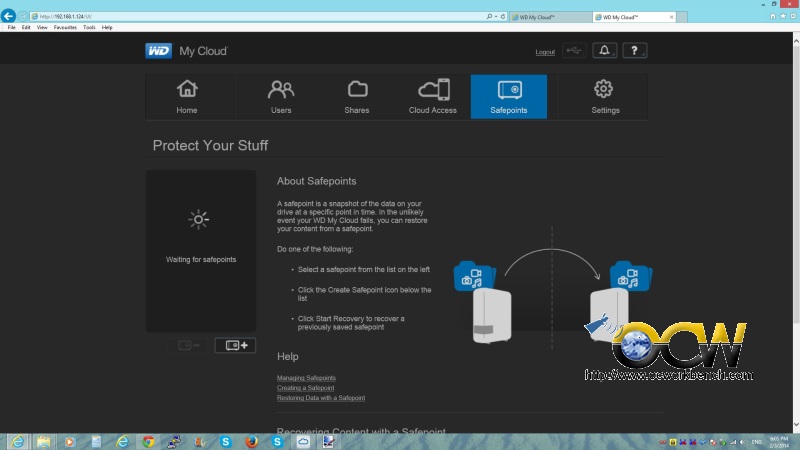
A nice feature of My Cloud is the Safepoints. it allows you to do a snapshot of your data.
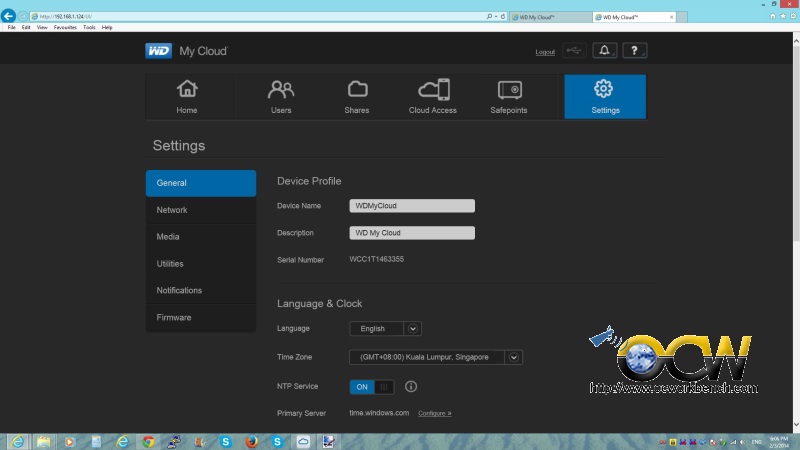
The settings page allows you to change the settings of the device including network, firmware update etc.
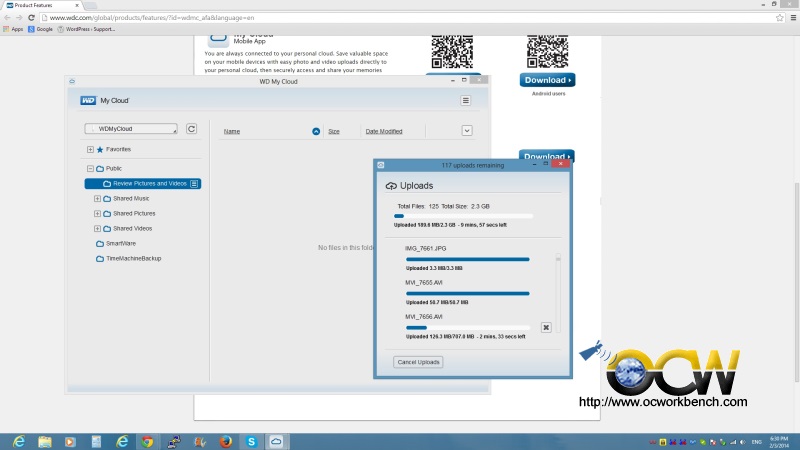
Here is a demonstration of access over my 3G network to my Home Network to upload a image from my desktop to the My Cloud. The WD My Cloud Desktop App is used to accomplish this.
Pricing WD My Cloud 3TB Personal Cloud Storage – NAS (WDBCTL0030HWT-NESN)